Showing posts with label Weaving. Show all posts

Thursday, May 26, 2011

Here's the scarf after seven feet of weaving--with the end finally in sight!


As I did when I started, I added a few placeholder lines of blue, to keep the white woven threads in place until the ends could get tied up.


I then untied the knots that I'd tied onto the back rod when I first set up the loom....


.....and pulled all the loose ends out the front, through the heddles and reed.


Look at all the wooly flotsam and jetsam that got shipwrecked through the process of being worked through the loom! A double-handful of fibers accumulated on the reed, shaken and tangled off of the yards of yarn that had twice passed through it.


As I unrolled the scarf from the beam, I was able to see the whole piece of fabric at once for the first time. It was very exciting.


Then it was time to tie it up! I laid it out flat on a towel (to give it traction), and carefully clipped and picked out the blue pieces, tying a solid row of overhand knots as I went, to keep the white pattern from shifting or getting loose.


I wanted to add a couple rows of knots for a decorative look, so I did that to both ends; then I trimmed the fringe to even everything out.


Finally all that was left was to trim off the little end tags I'd tied onto the weft, along with the excess end-strings that resulted from bobbins running out and being replaced....


(...see them all there?)....then gently wash it in the sink...(which I didn't document, because my hands were wet!)....and then....


....wear it!

Hooray!

Thursday, May 19, 2011

Weaving continues, and gets funner!

First, mechanics: here are the levers that control the raising and lowering of my little loom's harnesses (the four metal frames that hold the heddles).


When a harness gets lifted, the specific threads that have been drawn through its heddles are raised, allowing me to run a line of weft between those threads, and those that are left below, loose and level.


(That wooden, boat-shaped thing is the shuttle, and one of my favorite tools on the planet. It holds a bobbin suspended inside, which feeds out weft thread as the shuttle is passed through and amongst the warp threads.)

As you can see, I started by running a few lines of blue through, to stabilize the weave...a sort of scaffolding from which to start building the actual structure of the scarf (I'll remove them once the whole thing comes off the loom, before I tie up the ends). Then I started following my pattern, using the off-white, cloud-soft alpaca wool that I've been periodically cuddling on my shoulder like a kitten ever since I bought it last week. Seriously. Ridiculously soft.


This part of the process, for me, is a lot like watching seedlings poke their heads out of the soil. One knows, intellectually, that all that's needed for seeds to grow are a few basic elements--make sure they get sunlight and water, and that nothing stomps them out--and odds are, they'll grow into plants, all by themselves, because that's what seeds do. But still, somehow, it's always a thrill and a surprise to see them surviving, building on their own mysterious architecture...you know?

That's how it feels to watch the pattern emerge. It makes sense that everything would work out as planned...but I never really believe it will until I actually see it before my eyes. Here's the pattern as it finally appeared, its first cycle.


As I keep working, advancing the wheel, and rolling the finished fabric around the front beam, I keep track of how long the woven portion is is by marking it with a tag every so often--keeping note of the inches, then feet, as they roll by.


I'm up to 52 inches at this point. Just a few feet to go!

Friday, May 13, 2011


I decided I wanted to make myself a new scarf to take with me on the trip (it's winter there, remember), so over the past couple of days I've been getting going on that, taking much joy in the novelty and indulgence of the activity.

I finally picked a pattern: "Anna Henriksson's Fancy."

I really like it when patterns are named for their creators (or their notable perpetuators). It reminds me to imagine the lives of the people who were doing this a hundred, or hundreds of years ago.

I've never done a tabby weave before and I'm not sure how it'll turn out; but really, with quality wool, good colors, and any kind of regularity, there's no chance of ending up with something not pretty, even if it's not what I intended originally.


I chose to make the warp (the threads that run the length of the fabric, as opposed to the width [the weft]) out of red wool. I got a variety of reds...variegating them strategically sometimes makes for a kind of shiny effect, which I like.


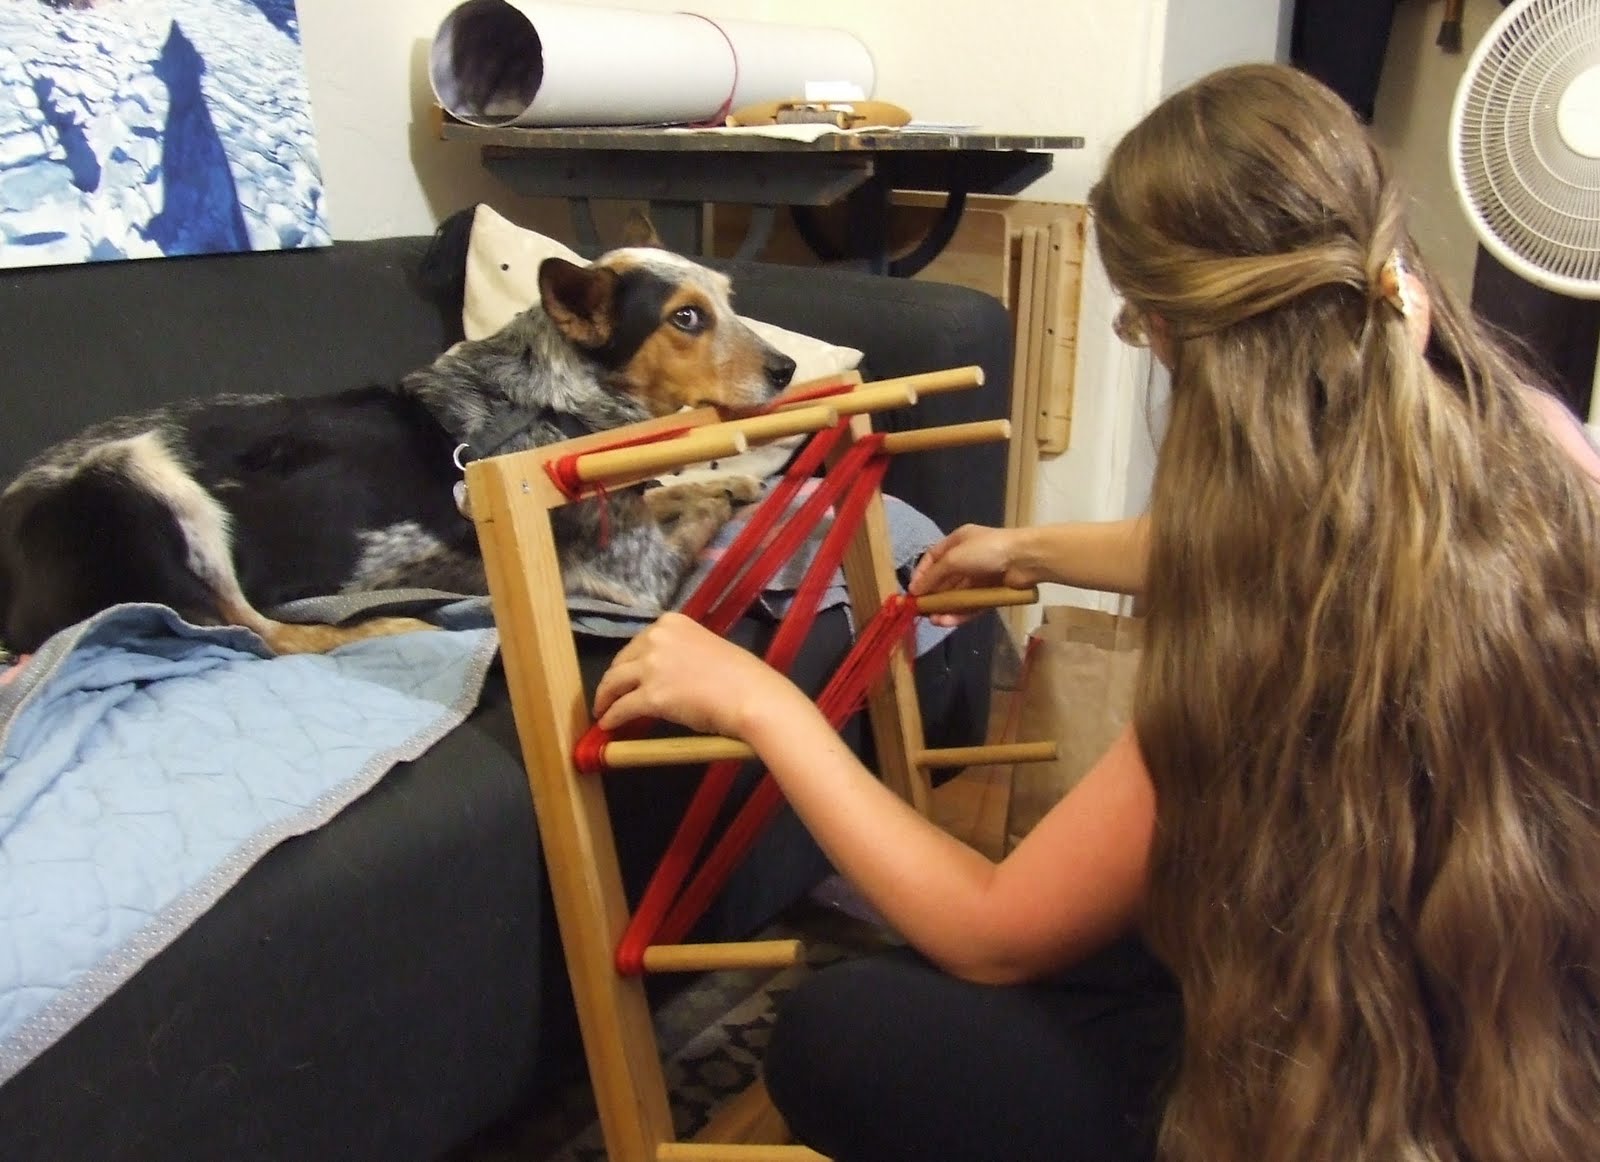
I received my warping board, like my table loom and my modest weaving skills, from Patty Savignac, my awesome instructor, some three years ago. It's so nice to have one of my own. I tried winding a warp on the legs of some overturned chairs a while back, and it worked (in a manner of speaking), but I don't recommend it.


Anyway, I wrapped the wool around the pegs of the warping board. Winding the warp helps keep the strands organized while they get fed into the loom.


Once I'd wound 182 strands around, I tied them up to keep them from getting mixed up or tangled, removed the warp from the board, and chained the whole thing carefully.


Then it was time for some loom involvement.


The next several steps are always time-consuming and repetitive, but the tedium is relieved by my enjoyment of my tools. I'm very proud of them! You can tell because I stamped my name on them! I made them one year at Ghost Ranch with some brass scraps while taking a jewelry class. The one on top is a "heddle-threader," used to draw the strands through the eyes of the needle-like loom components. The other one is used to "sley the reed" which performs the same service, but through the baleen-like structure used to keep the threads organized at the front of the loom (and beat the weft tightly into place, but that's later).


Here I am sleying the reed:


Here are the threads once they were all sleyed. They've been temporarily tied in back to keep them from falling back through the reed and getting all crazy-like.


Then it was time to thread the strands through the heddles (the long suspended needle-like things seen below). This took a little more concentration because the heddles are strung onto four different harnesses, and threading them in a very specific order is one of two major steps that will determine the final pattern.


Here they are, all threaded:


All those loose, but newly-organized threads got tied to a small metal bar on the back of the loom. The bar is attached by strings to a tension reel in the back, which, when cranked, eventually pulls the entire warp through the reed and heddles as it wraps it around the bar. Fred helped me by doing the winding, while I manned the front of the loom, combing snarls and making sure the warp maintained an appropriate degree of tension.

This left loose strings hanging in the front, now, ready be tied onto their own respective bar.


Here are all the loose ends, tied up in front:


I'll leave it all to stretch overnight, check the tension and re-tighten tomorrow....and then the actual weaving can begin!

Saturday, March 26, 2011

I like winter for lots of reasons. One of them is that if you plan to weave, it's much pleasanter to wrangle massive bundles of wool through a loom when it's cold! But somehow, this year, I managed to sneak through the season without weaving anything, which is a shame. Even if I don't know someone who needs a nice new handmade scarf (really, with mechanized looms, beautiful scarves are a dime a dozen), I try to do at least one annually, so that I can remind my brain and body of how the process works. It's definitely not a skill I want to lose.


To that end--despite the present sunny days, and their thinly-veiled threats of the oncoming desert summer--I'm going to make myself a new one.

I have a fantastic resource in my bookshelf, Marguerite Porter Davison's A Handweaver's Pattern Book, but sometimes I want something a little more complicated...and that's when I lose hours of my life playing with Weavemaker, a pleasantly anachronistic bit of software that allows you to work out patterns of your own (and then scale them so you can see what the proposed fabric will look like).

So far all I know is that I want it to be red and white wool. So There's lots of playing to be done. Here's my first "sketch"...a little improvisational riff on Finnish Twill.


The black and white blocks on the side and top indicate the threading and treadling patterns--the instructions I'll follow later.

Wednesday, August 18, 2010

A few years ago, when I first moved to Albuquerque, I was making "paintings" that were mostly composed of found, woven objects that I collected on my walks to and from the University. It had something to do with being able to claim the things that no one else wanted, so I didn't feel like such an officious interloper in this new place. But it quickly became about enjoying the forms and colors, and about the joy of being in a constant state of seeking and observation, as I looked in gutters, alleys, and sidewalks for stuff to use.


As I got more comfortable in my new surroundings, I got comfortable with my practice again, and began drawing and painting the objects themselves--sort of easing myself back into representation.


And then the intent of the paintings and drawings started to come full-circle. I stopped replicating the found objects, and began inventing new ones as I went, playing with color and structure in a looser, imaginary environment. I found I enjoyed pulling the recurring ingredients--feathers, wire, grasses, drinking straws--from my mental toolkit as much as I liked dusting them off in the street. The paintings became about improvisation and discovery within a prescribed form, much like the original constructions.